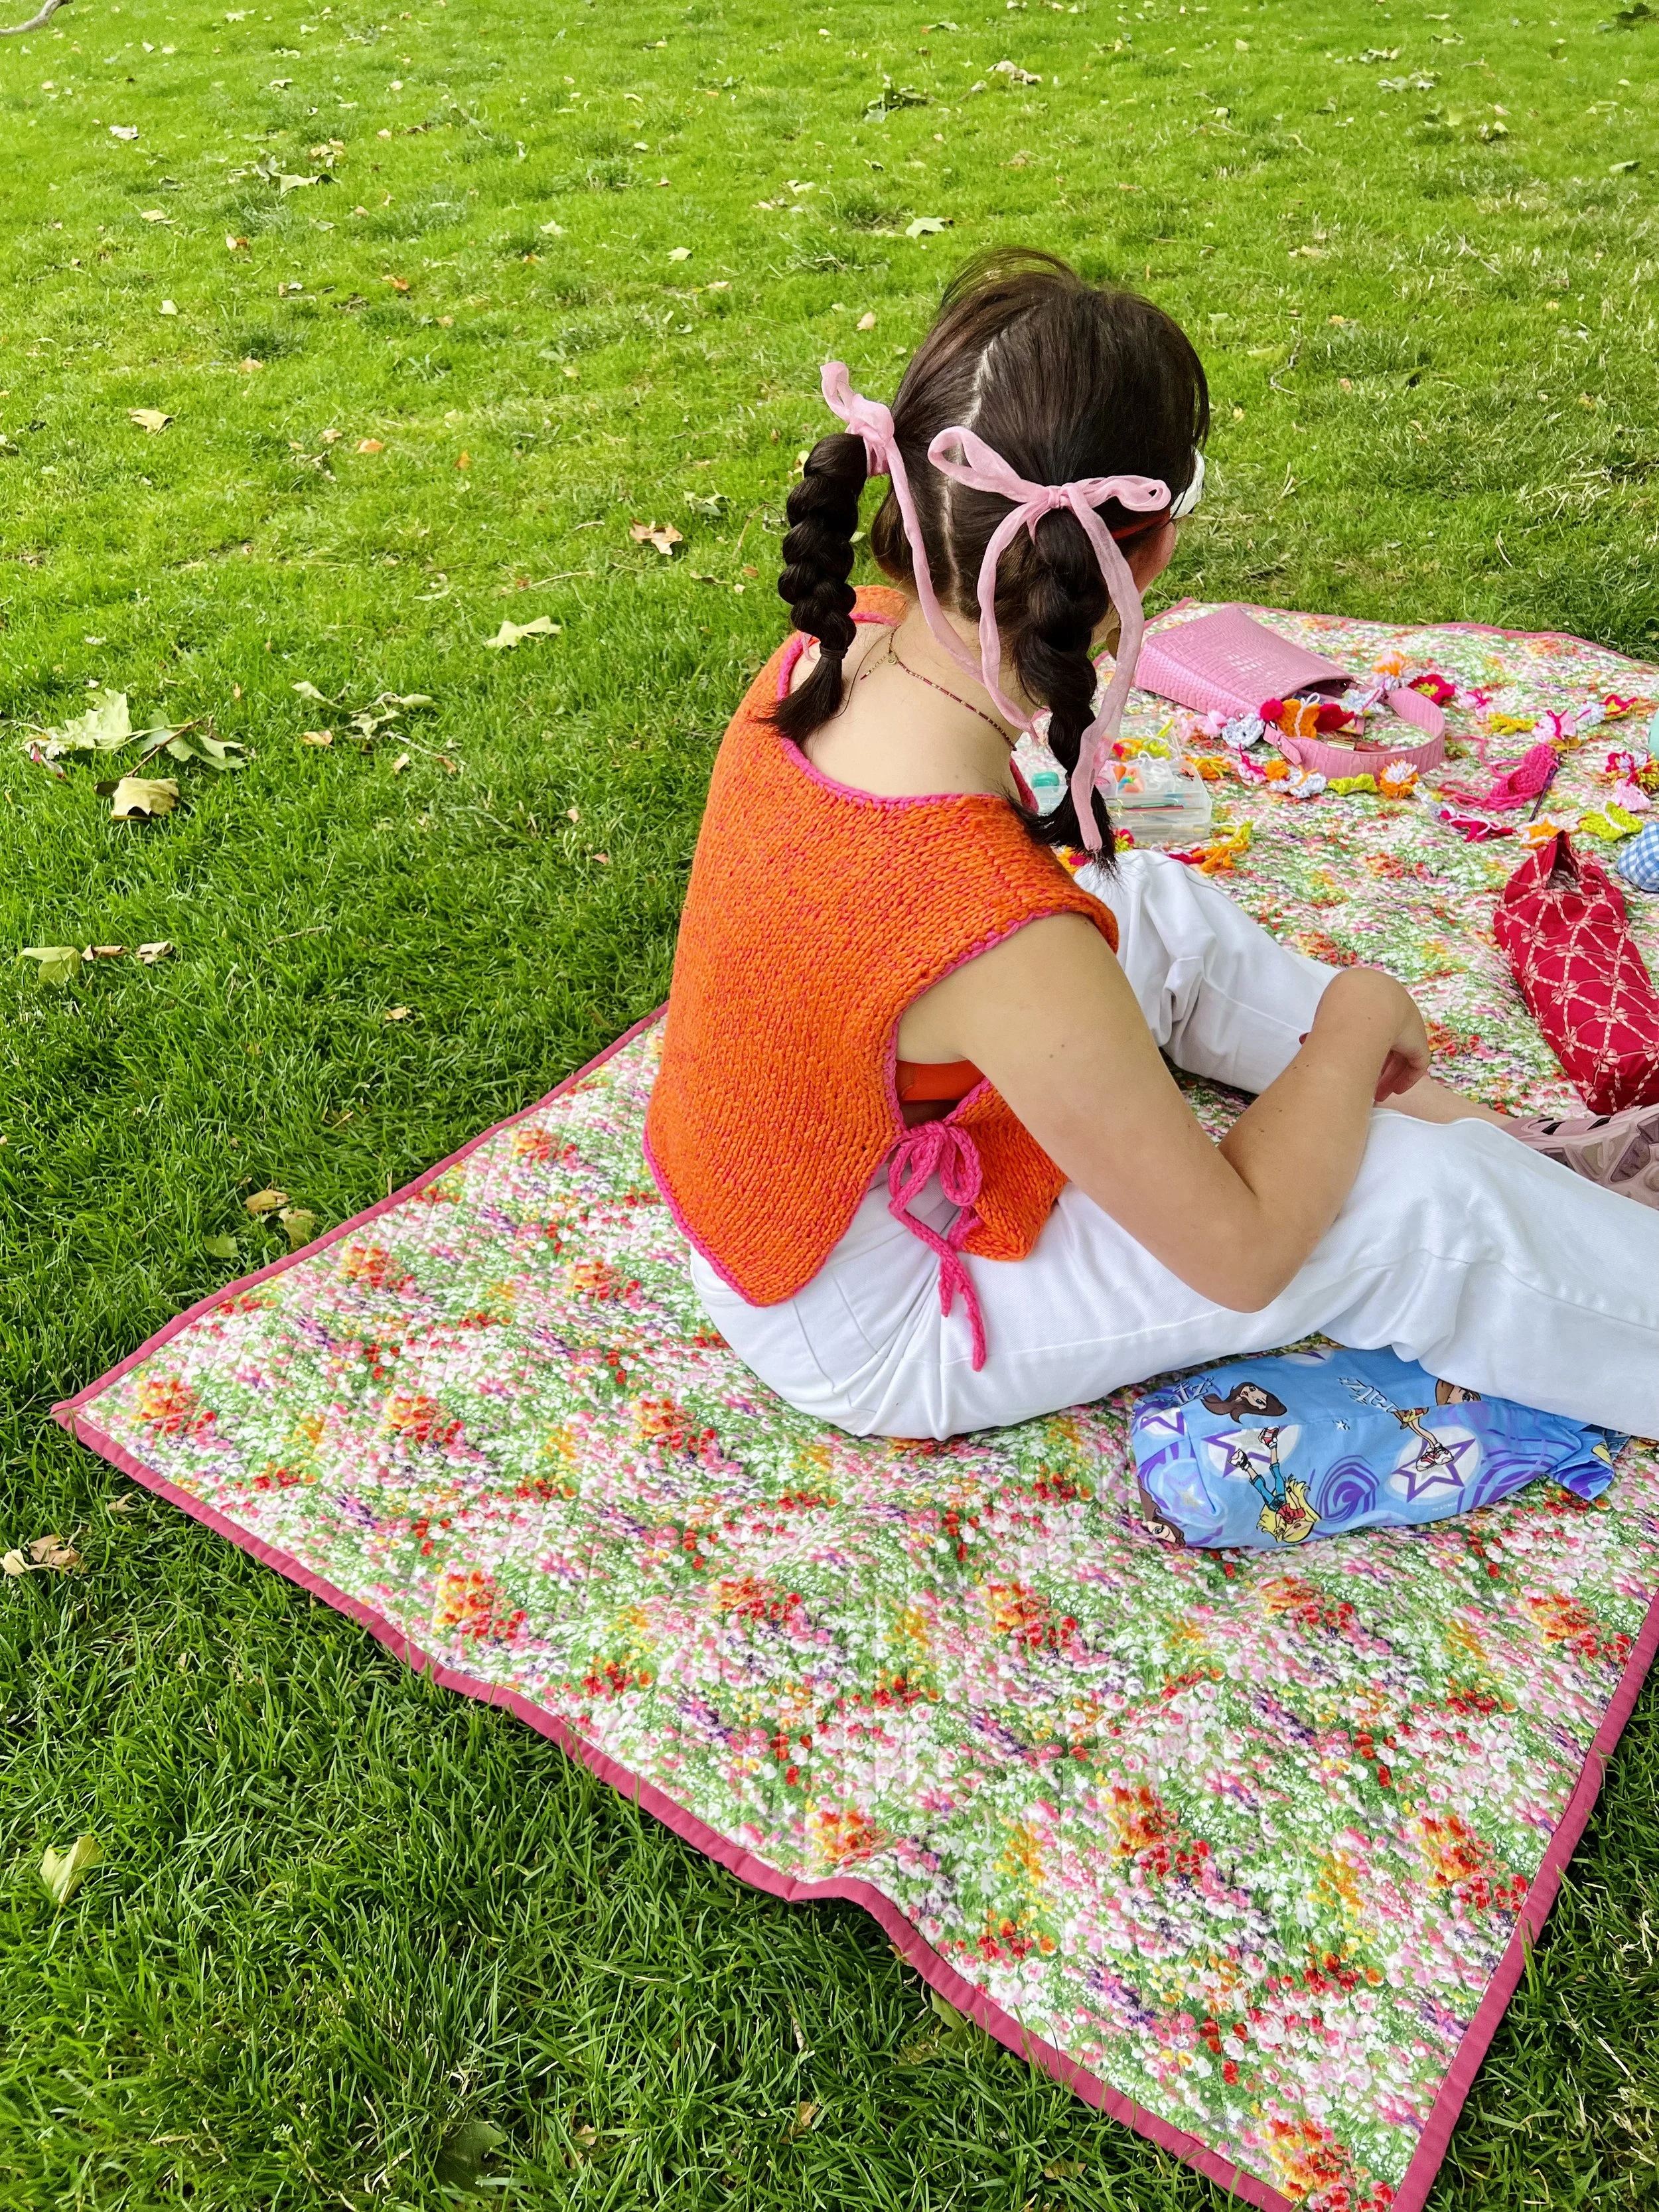
summer smock top
Despite having the simplest construction, this top makes a big statement. This hot grrrl summer, beat the heat by wearing it with nothing underneath, then transition it to fall by using it as a vest layer over your staple button ups and turtlenecks.
This smock is a blank canvas! Try holding different colors of yarn together, making it out of scraps, adding beads or ribbon, or duplicate stitching an image or bit of text across the front - the options are endless!
Materials:
6.5mm needles (circular or straight)
Optional: 5mm crochet hook
3+ skeins of 50g/100m yarn
Gauge:
13 sts by 18 rows = 4x4 inches
Sizing:
This is a made-to-measure pattern that you will customize to fit your exact measurements! For this to work, it’s important that you meet gauge.
To calculate how many stitches to cast on, do the following: ~Measure your chest circumference by wrapping a measuring tape all the way around your chest at its widest point.
~Divide your chest circumference by 2
~Multiply the answer by 3.25 and round up or down to the nearest even number. This is the number of stitches you should cast on and will be notated in the pattern as (a)
To calculate how many rows to knit:
~Measure from the base of your collarbone down to your belly button (or wherever you would like the hem of your shirt to hit).
~Multiply this measurement by 4.25. This is the number of rows you will knit for the body of the smock and will be notated in the pattern as (b)
Abbreviations:
St(s) - stitch(es)
k - knit
p - purl
co - cast off
ssk - slip, slip, knit
Construction:
This is the perfect top for beginners! You will create two rectangular pieces for the front and back, then attach them together and add ties to secure the smock on your sides.
FINE PRINT: COPYRIGHT © 2023 ALEXA KARI DESIGNS. FOR PERSONAL USE ONLY. READER/ PURCHASER MAY NOT COPY, RESELL, OR REDISTRIBUTE ANY PART OF THE PATTERN WITHOUT PERMISSION. READER/PURCHASER MAY NOT SELL ANY GARMENTS CREATED FOLLOWING THE PATTERN. Subscribe to get free patterns straight to your inbox:)
summer smock top pattern
front piece
Cast on (a) sts using the long tail cast on
Knit in stockinette stitch for (b) rows. Your last row should be purled
You will now cast off 18 stitches in the middle of the row to begin creating the neckline. Use the following formula:
(a) - 18 = __
Divide the answer by 2. This is the number of stitches you will have for each shoulder and will be notated in the pattern as (c)
k(c), co18, k(c)
Leave right shoulder (left when worn) sts on needle and begin working the left shoulder (right when worn)
Row 1 - p
Row 2 - k1, ssk, k rest
Row 3 - p
Row 4 - k1, ssk, k rest
Row 5 - p
Row 6 - k1, ssk, k rest
Row 7 - p
Cut yarn and place sts on a stitch holder or scrap piece of yarn (these will be used for the three needle bind off later).
Attach yarn to right shoulder
Row 1 - p
Row 2 - k to last 3 sts, k2tog, k1
Row 3 - p
Row 4 - k to last 3 sts, k2tog, k1
Row 5 - p
Row 6 - k to last 3 sts, k2tog, k1
Row 7 - p
Cut yarn and place sts on a stitch holder or scrap piece of yarn (these will be used for the three needle bind off later).
back piece
Cast on (a) sts using the long tail cast on
Knit in stockinette stitch for (b) rows. Your last row should be purled.
You will now cast off 24 stitches in the middle of the row to begin creating the neckline. Use the following formula:
(a) - 24 = __
Divide the answer by 2. This is the number of sts you will have for each shoulder and will be notated in the pattern as (d)
k(d), co24, k(d)
Leave right shoulder (back right when worn) sts on needle and begin working the left shoulder (back left when worn)
Row 1 - p, Row 2 - k
Cut yarn and keep sts on needle.
Attach yarn to right shoulder
Row 1 - p, Row 2 - k
Put your saved sts from the front of the smock onto a needle and use the three needle bind off to attach front and back pieces together at the shoulders.
Optional: Single crochet along each edge and the neck hole with a contrasting color.
ties
Try your smock on to decide where you want to attach ties. Pick up 3 sts on the edge and knit an i-cord 18 inches long. (Alternately, attach ribbons or crochet chains to use as ties). Repeat to create 4 ties.
This pattern was originally published in the July/August 2023 issue of Material Grrrlz
Download the whole issue for free here!
(featuring even more free patterns and girlie fiber art activities…)


