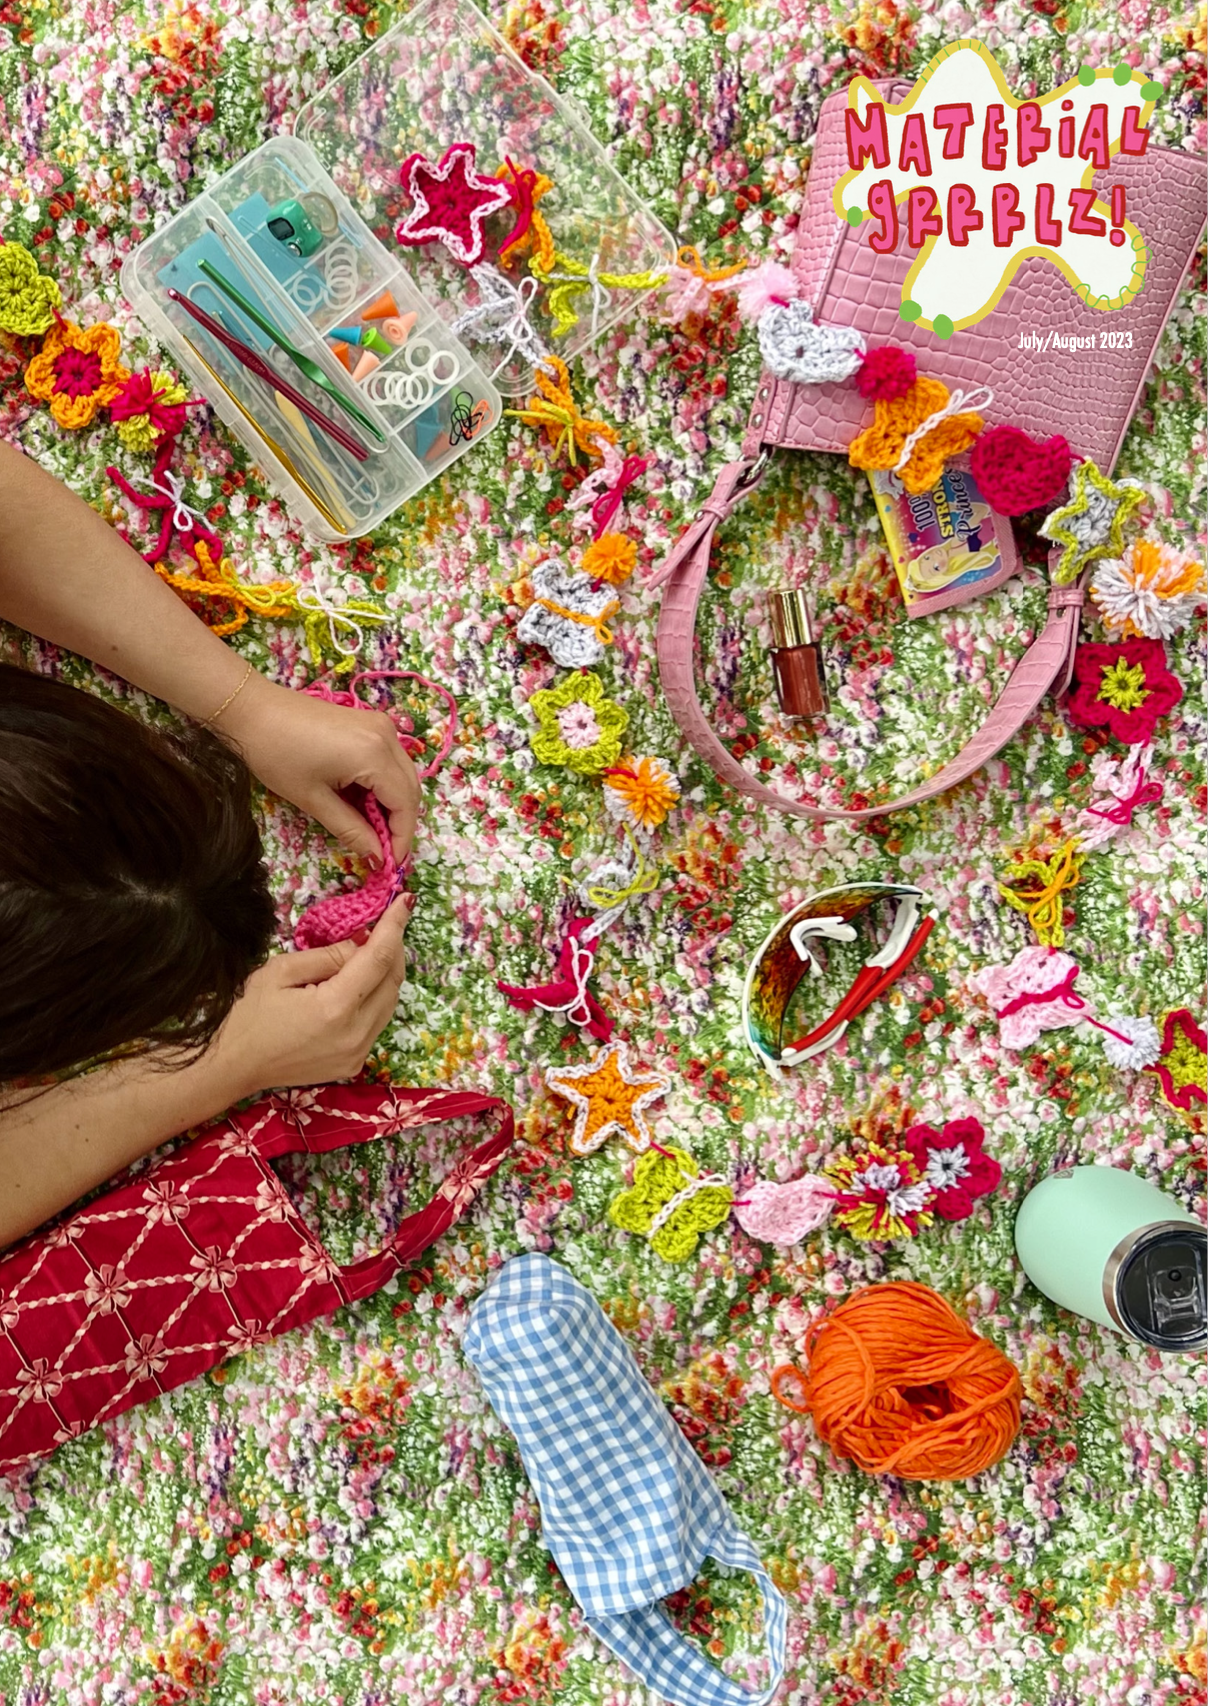
customizable booze totes
It’s officially picnic season and we’ve got the perfect pattern for you to add a material grrrl touch to your next afternoon in the park! These totes are uber beginner friendly, take less than an hour to make, and are a great way to use up excess strips of fabric. Plus, we’ve put together instructions so you can adjust the pattern to fit any bottle of your choice... pick your poison, grrrlz!
pattern pieces
Use the diagram below to create a pattern custom to any bottle. All you need to know is the height, circumference & diameter of your bottle. Strap size is always the same, unless you’d like to customize the length! (Crossbody beer carrier, anyone?)
This formula includes 1⁄4 inch seam allowance.
Cut 1 square
Cut 4 rectangles. These will be the body pieces.
Use the square as a template to cut out the two bottom corners on each rectangle. These are the completed body pieces.
Cut one rectangle. This is the strap piece.
FINE PRINT: COPYRIGHT © 2023 ALEXA KARI DESIGNS. FOR PERSONAL USE ONLY. READER/ PURCHASER MAY NOT COPY, RESELL, OR REDISTRIBUTE ANY PART OF THE PATTERN WITHOUT PERMISSION. READER/PURCHASER MAY NOT SELL ANY GARMENTS CREATED FOLLOWING THE PATTERN. Subscribe to get free patterns straight to your inbox:)
sewing instructions
1. Place 2 body pieces good sides together and sew down the right, left, and bottom edges
2. Box both corners
3. Repeat steps 1 & 2 with the other 2 body pieces
4. Fold the strap piece in half (good sides together, long edges touching) and sew down. Use a safety pin to turn the strap right side out. Optional: top stitch on the edges of the strap so it will lay flatter
5. Turn one of the body pieces right side out. Pin ends of the strap on each seam (raw edges facing the same way)
6. Put the entire body piece & strap inside the other body piece (good sides together, seams matched up). Pin in place. You should have wrong sides showing on both the outside & inside, with the strap down between both layers
7. Sew around the top of the bag, leaving a 1.5 inch opening at the end
8. Pull the bag right side out through the opening. You should have good sides showing on both the outside & inside of the bag and the strap should be upright on top
9. Topstitch around the entire top edge of the bag to close the opening
This pattern was originally published in the July/August 2023 issue of Material Grrrlz
Download the whole issue for free here!
(featuring even more free patterns and girlie fiber art activities…)


