
fluffy scrunchies
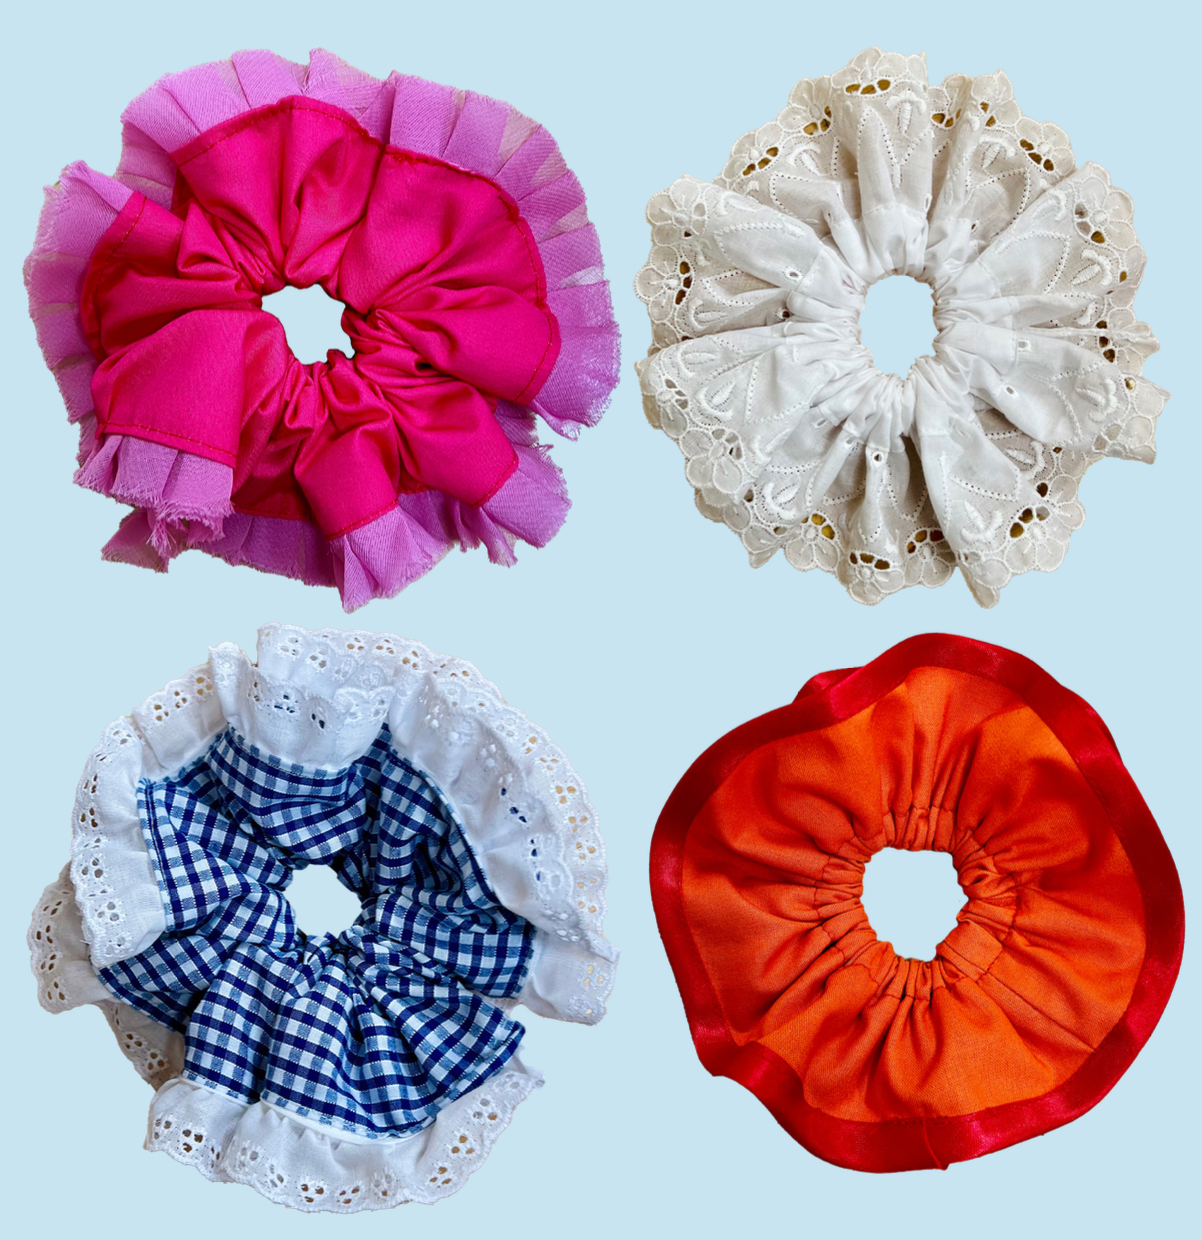
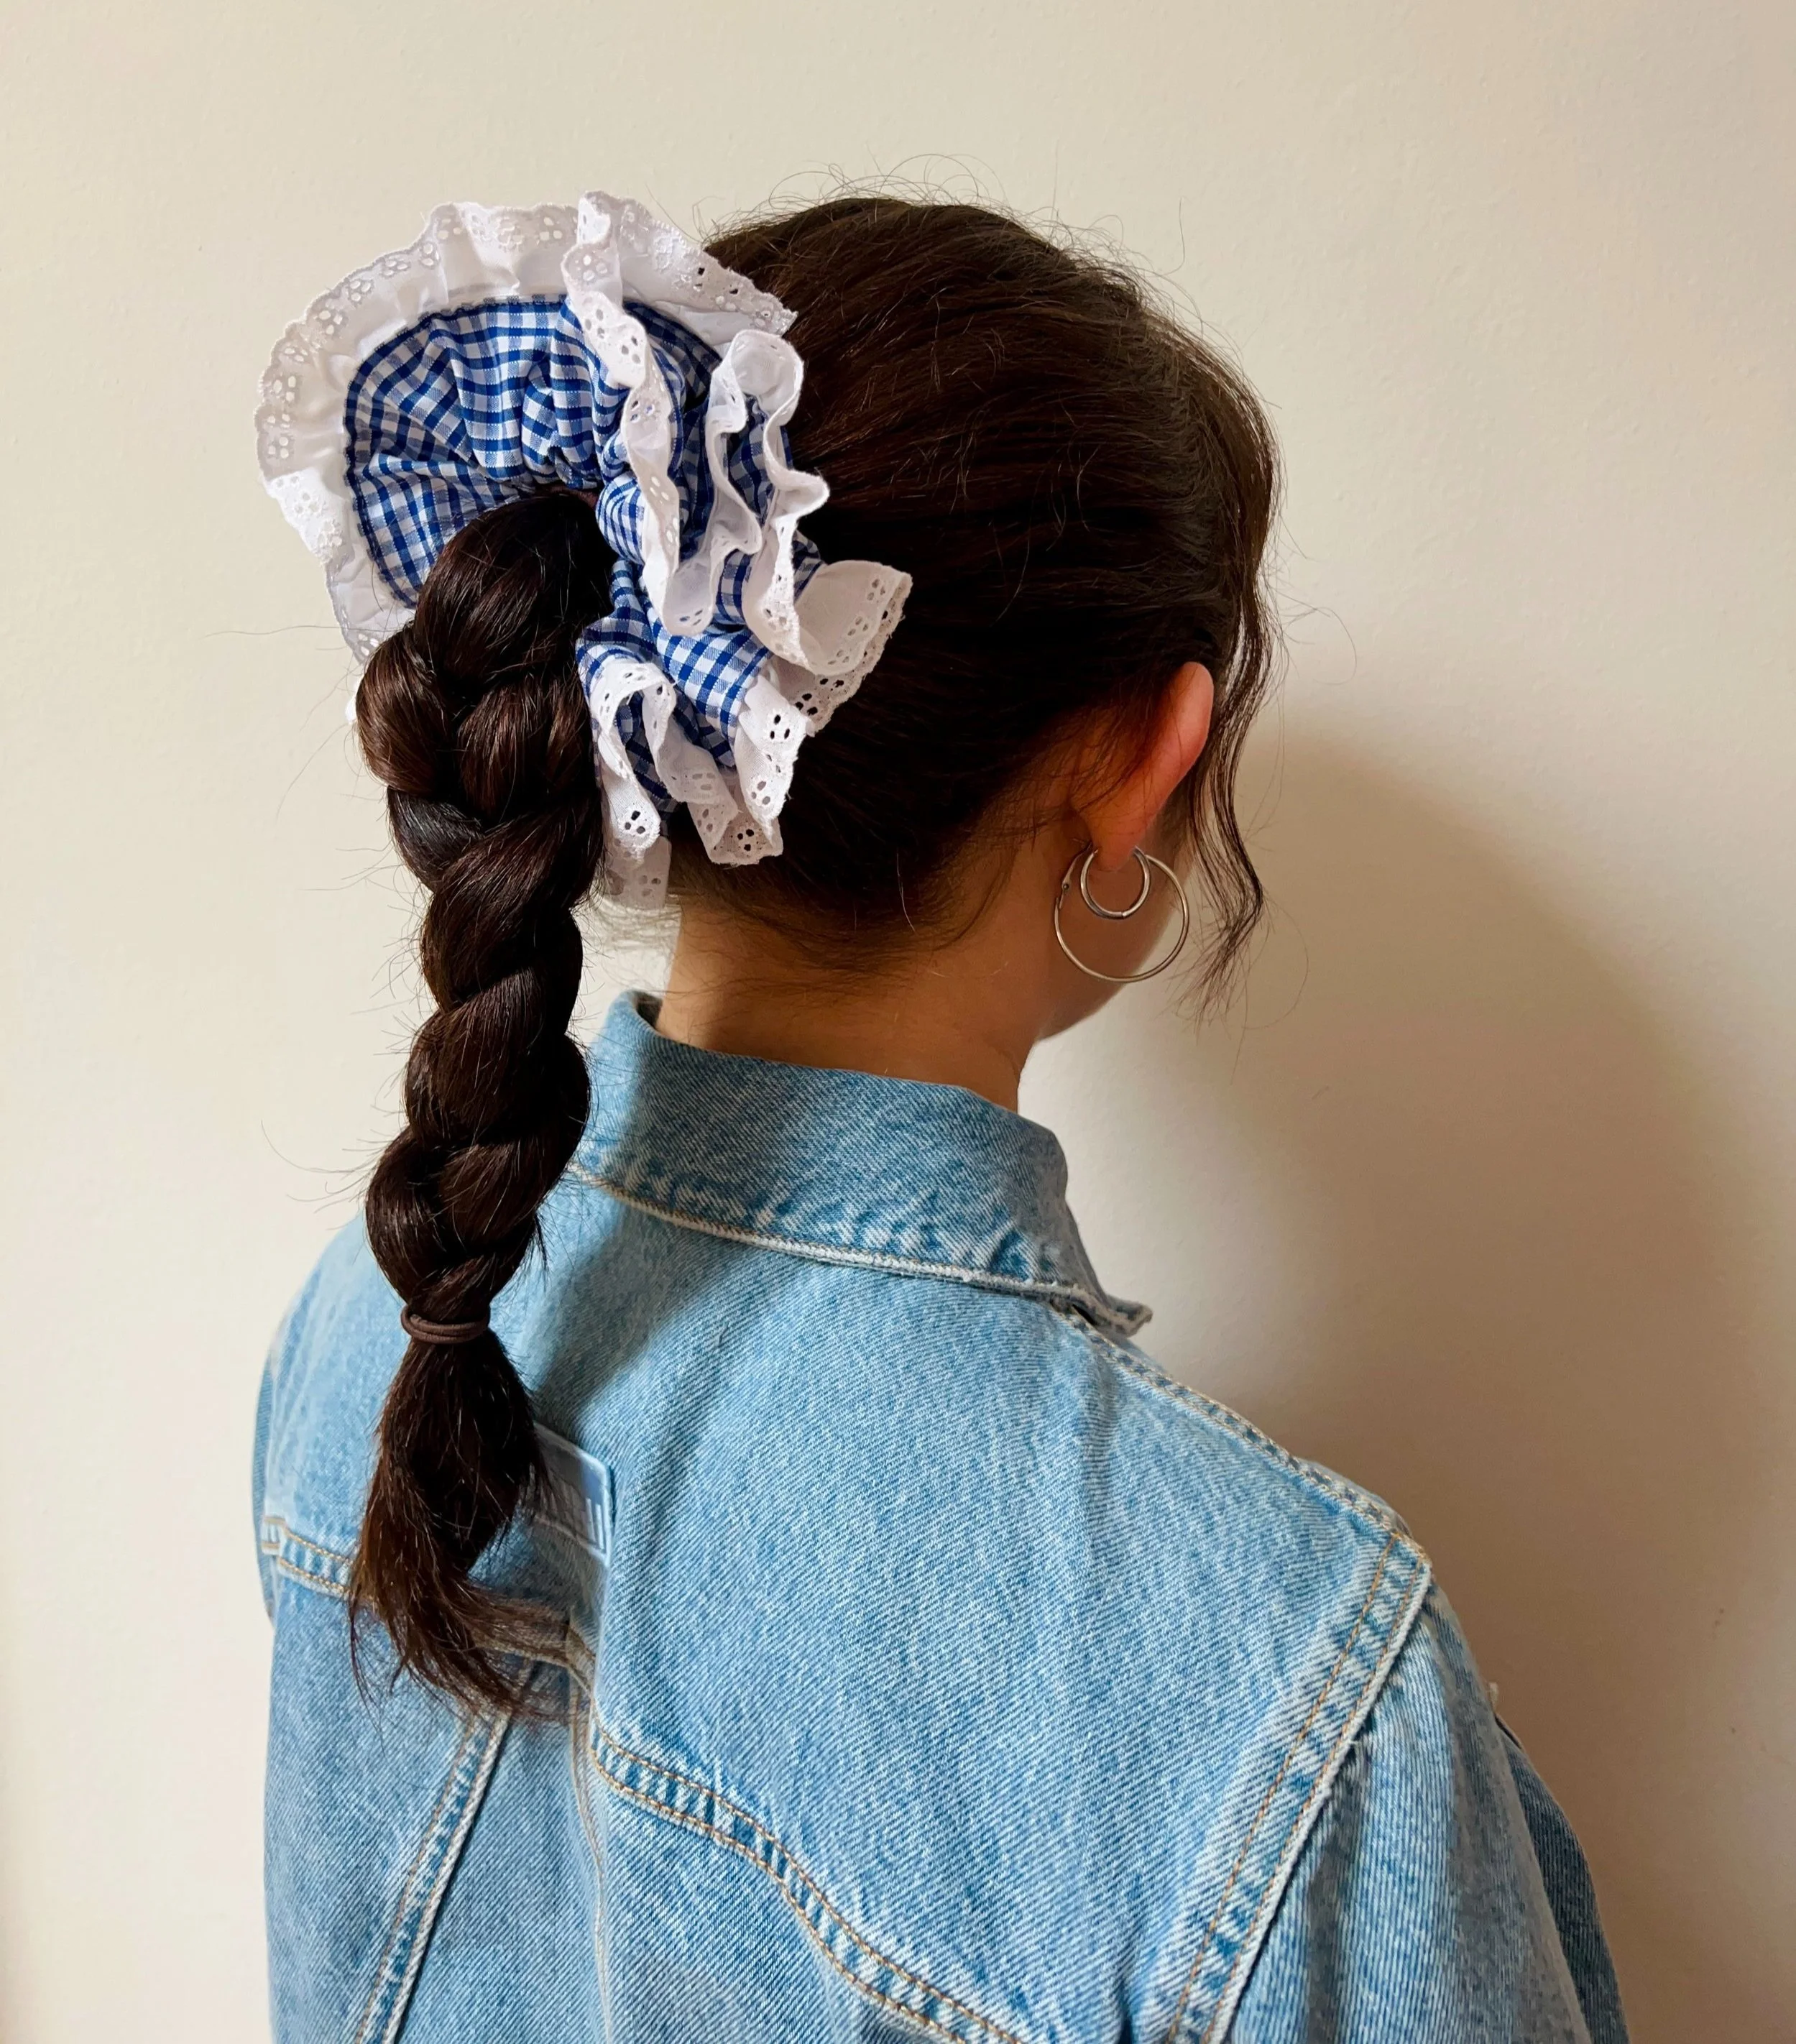
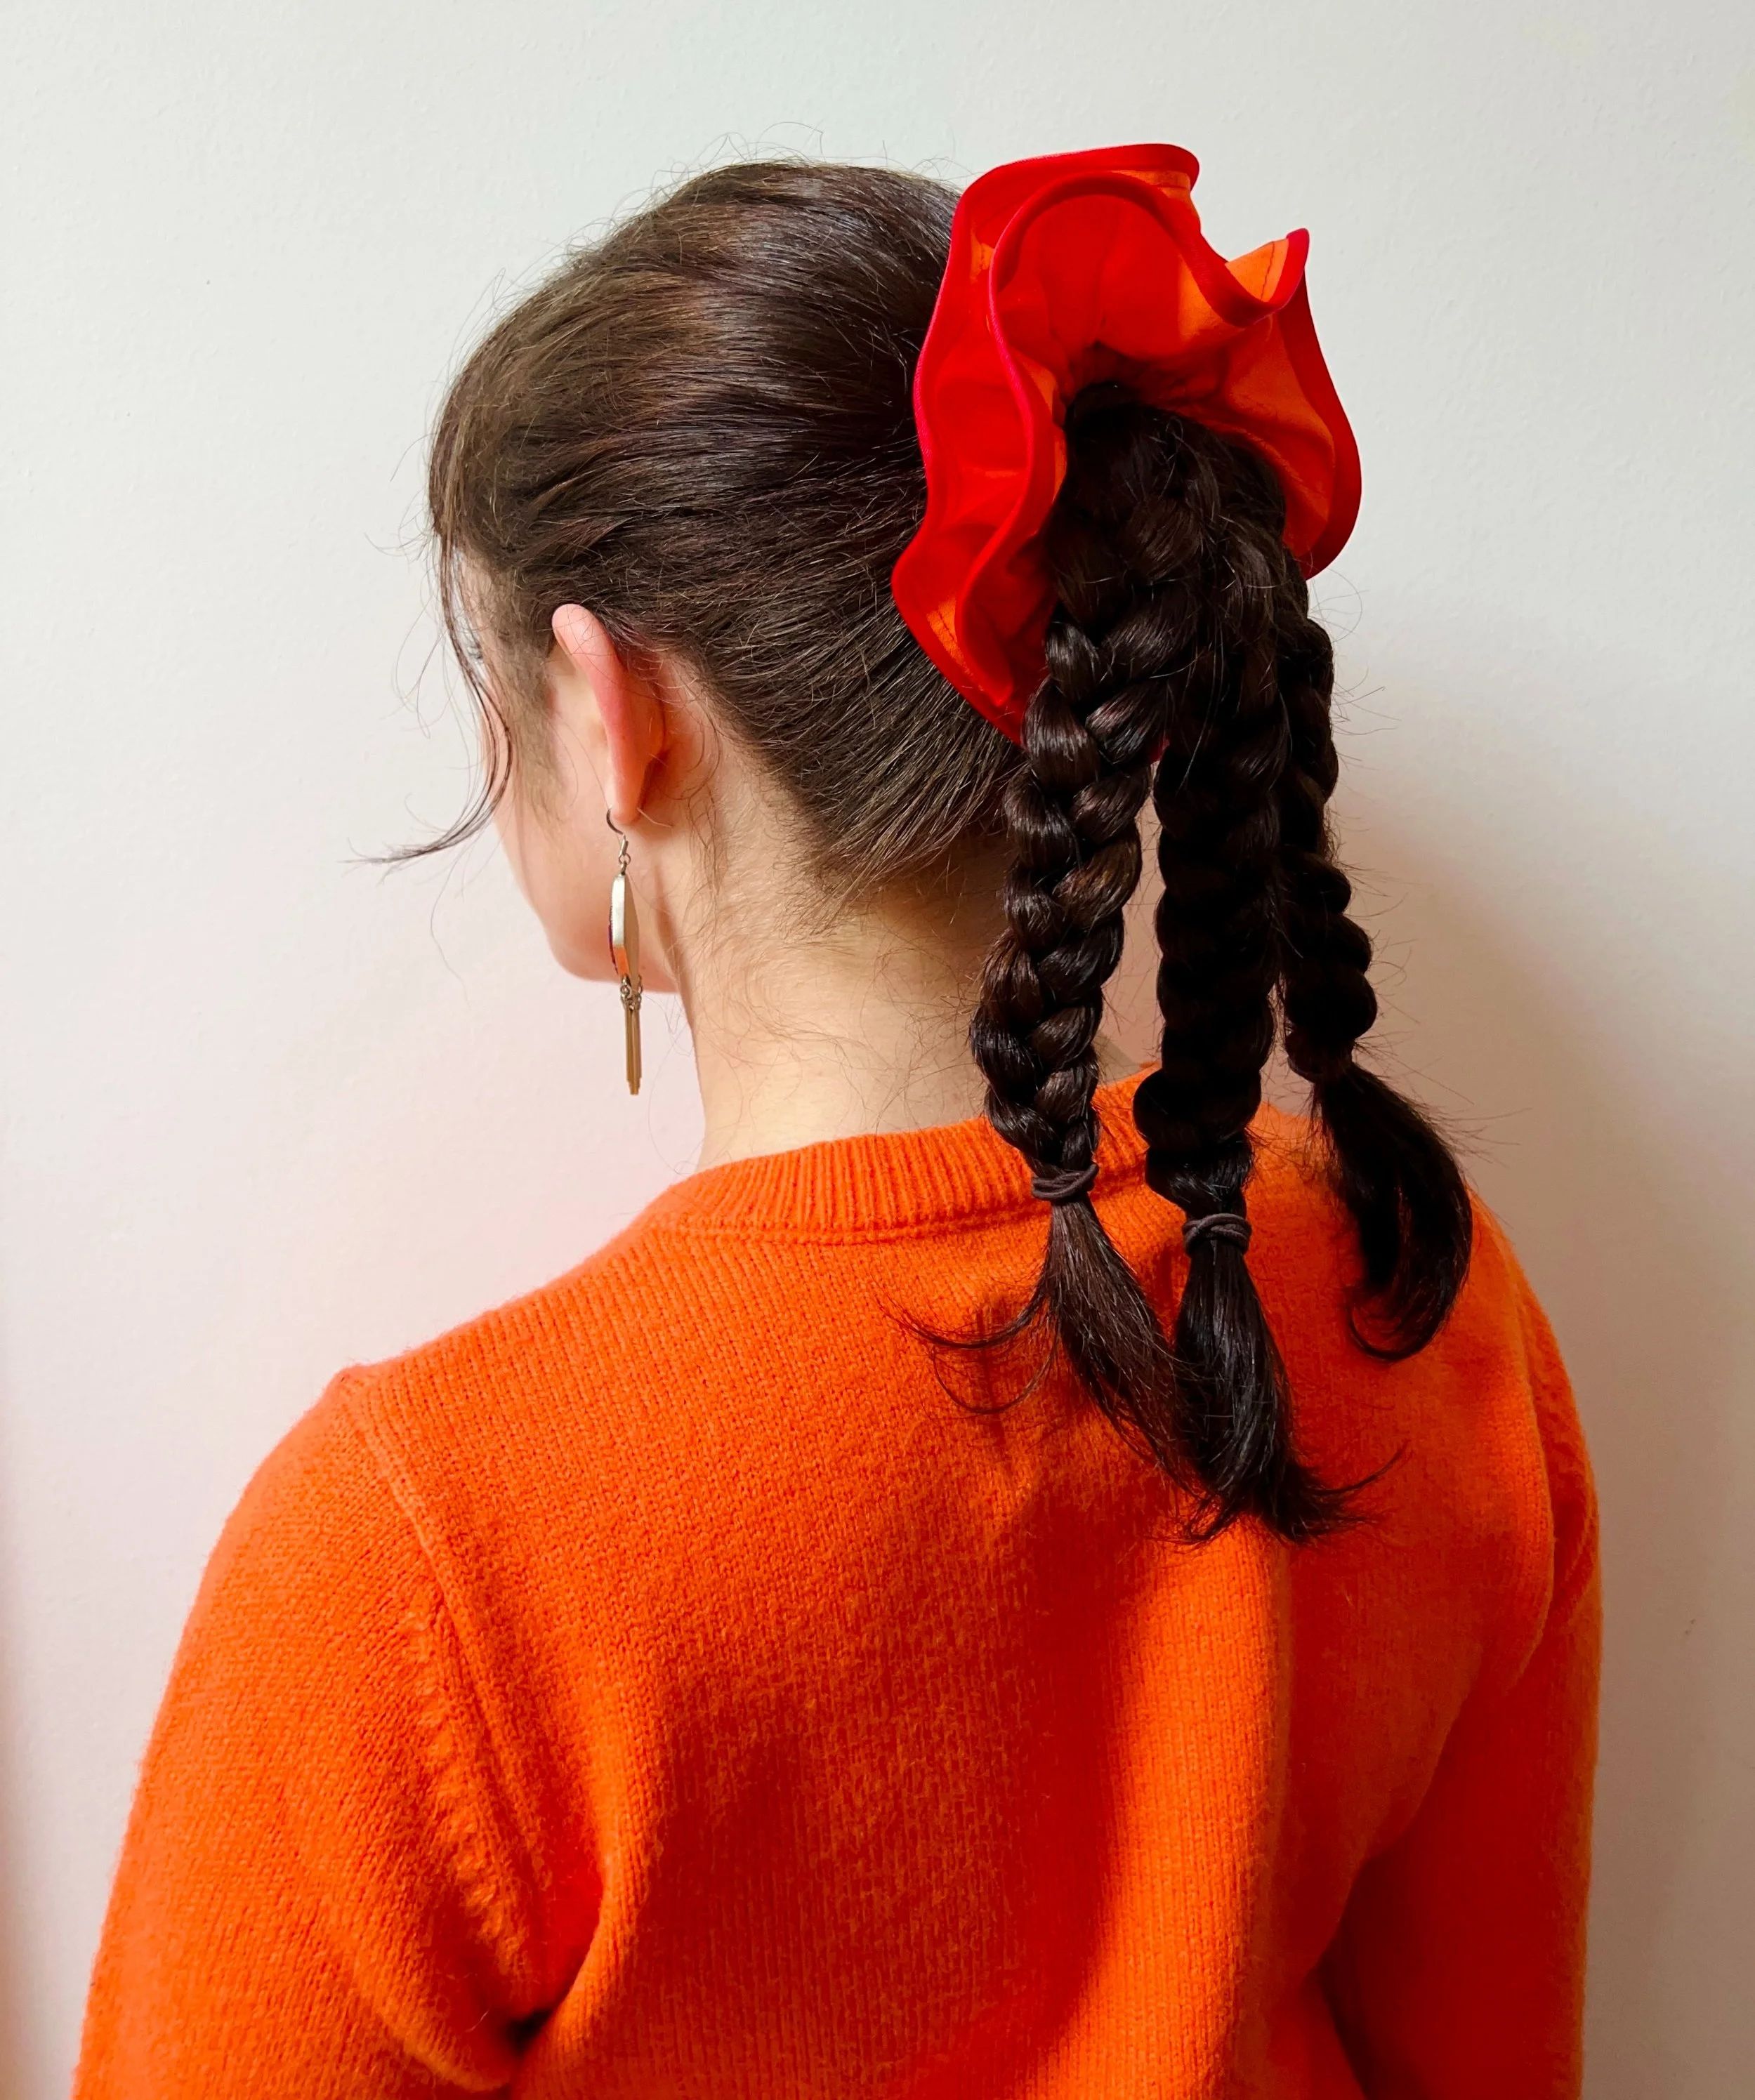
statement pieces aren’t just for clothes! the oversized, frilly scrunchie has taken over and we’re loving the color and playfulness they add to any fit. get mismatched with any leftover strips of fabric and trim that you have, and follow these simple steps to make a pile of your own accessories.
about the pattern
this pattern includes instructions for two different scrunchies - the first uses fabric and trim for a scrunched up look, the second uses fabric and serged or bound edges to create two wavy layers.
measurements
all measurements in the pattern are customizable. cut your fabric pieces longer to add more volume & frills or wider for a larger circumference. the elastic length listed will create a scrunchie that wraps around a ponytail once - just pop it over a hair tie. if you want to wrap your scrunchie around your hair multiple times, cut your elastic 8 in/20 cm long instead.
FINE PRINT: COPYRIGHT © 2024 ALEXA KARI DESIGNS. FOR PERSONAL USE ONLY. READER/ PURCHASER MAY NOT COPY, RESELL, OR REDISTRIBUTE ANY PART OF THE PATTERN WITHOUT PERMISSION. READER/PURCHASER MAY NOT SELL ANY GARMENTS CREATED FOLLOWING THE PATTERN. video tutorial
a complete tutorial for both scrunchies is available below from the Material Grrrlz YouTube channel. make sure to subscribe for more free patterns and tutorials!
keep scrolling if you’d rather follow the written pattern:)
Subscribe to get free patterns straight to your inbox:)
scrunchie #1
materials
1 piece of fabric: 40 in/100 cm by 5 in/13 cm
1 piece of trim: 40 in/100 cm long
1 piece of thin (~1/4” in) elastic: 5 in/13 cm long
instructions
1. fold fabric piece in half (good sides together, short edges touching) and sew short edges together
2. press the seam open, then fold each long edge in on the wrong side (approximately 0.25 in/0.75 cm) and press in place
3. fold fabric in half (wrong sides together, long edges touching). place trim in between the two edges (outer edge of the trim facing out) and pin in place around the whole piece
4. sew along the outer edge of the fabric to secure trim in place, leaving a 1 in/2.5 cm opening at the end
5. attach the elastic to a safety pin and insert into the opening. feed the elastic through the entire length of the scrunchie, then sew the two ends together
6. tuck the elastic into the scrunchie and sew the opening closed to finish
scrunchie #1
materials
2 pieces of fabric: 24 in/61 cm by 3 in/7.5 cm
serger thread OR bias tape
1 piece of thin (~1/4” in) elastic: 5 in/13 cm long
instructions
1. place the fabric pieces good sides together and sew down one of the long edges
2. open the piece up and fold (wrong sides together, short edges touching) and sew short edges together using a french seam
3. serge or bind the two raw outer edges (video tutorial shows how to bind edges!)
4. fold piece in half at the long seam (wrong sides together) and pin or press in place. the seam should be in the center, with the serged/bound edges on the outer edge of the scrunchie
5. sew a line 0.5 in/1.25 cm away from the inner edge. sew around the whole piece, but leave a 1 in/2.5 cm opening at the end
6. attach the elastic to a safety pin and insert into the opening in between the two layers of fabric. feed the elastic through the entire length of the scrunchie, then sew the two ends together
7. tuck the elastic into the scrunchie and sew the opening closed to finish

This pattern was originally published in the Q1 2024 issue of Material Grrrlz
Download the whole issue for free here!
(featuring even more free patterns and girlie fiber art activities…)