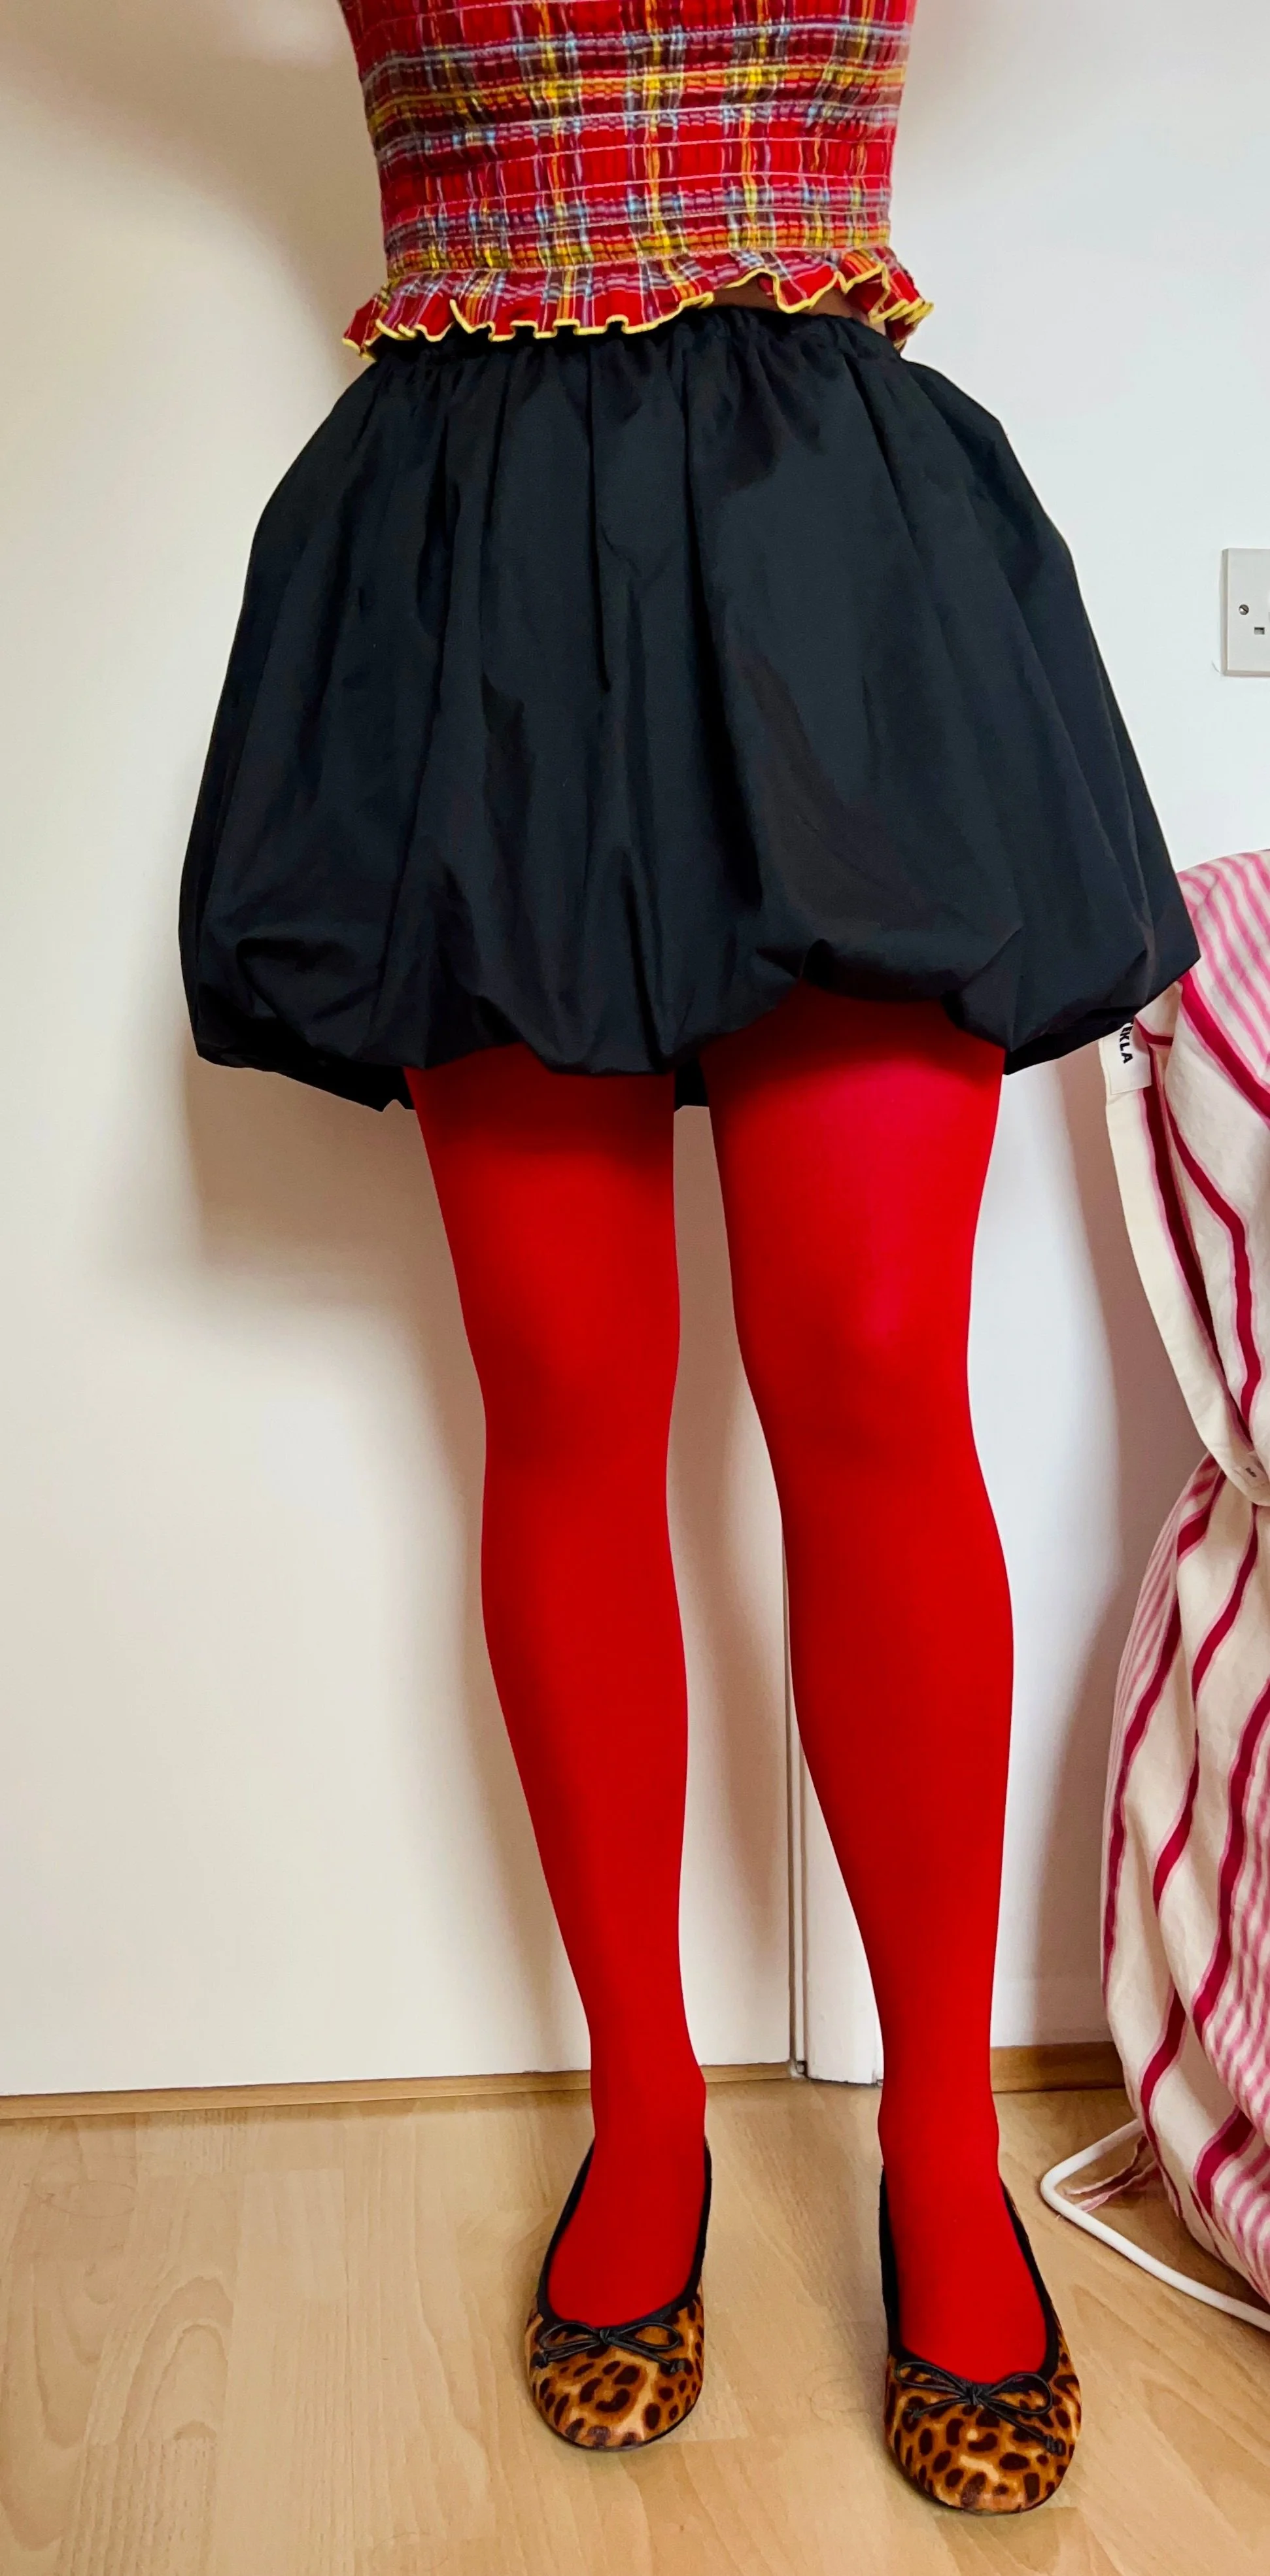
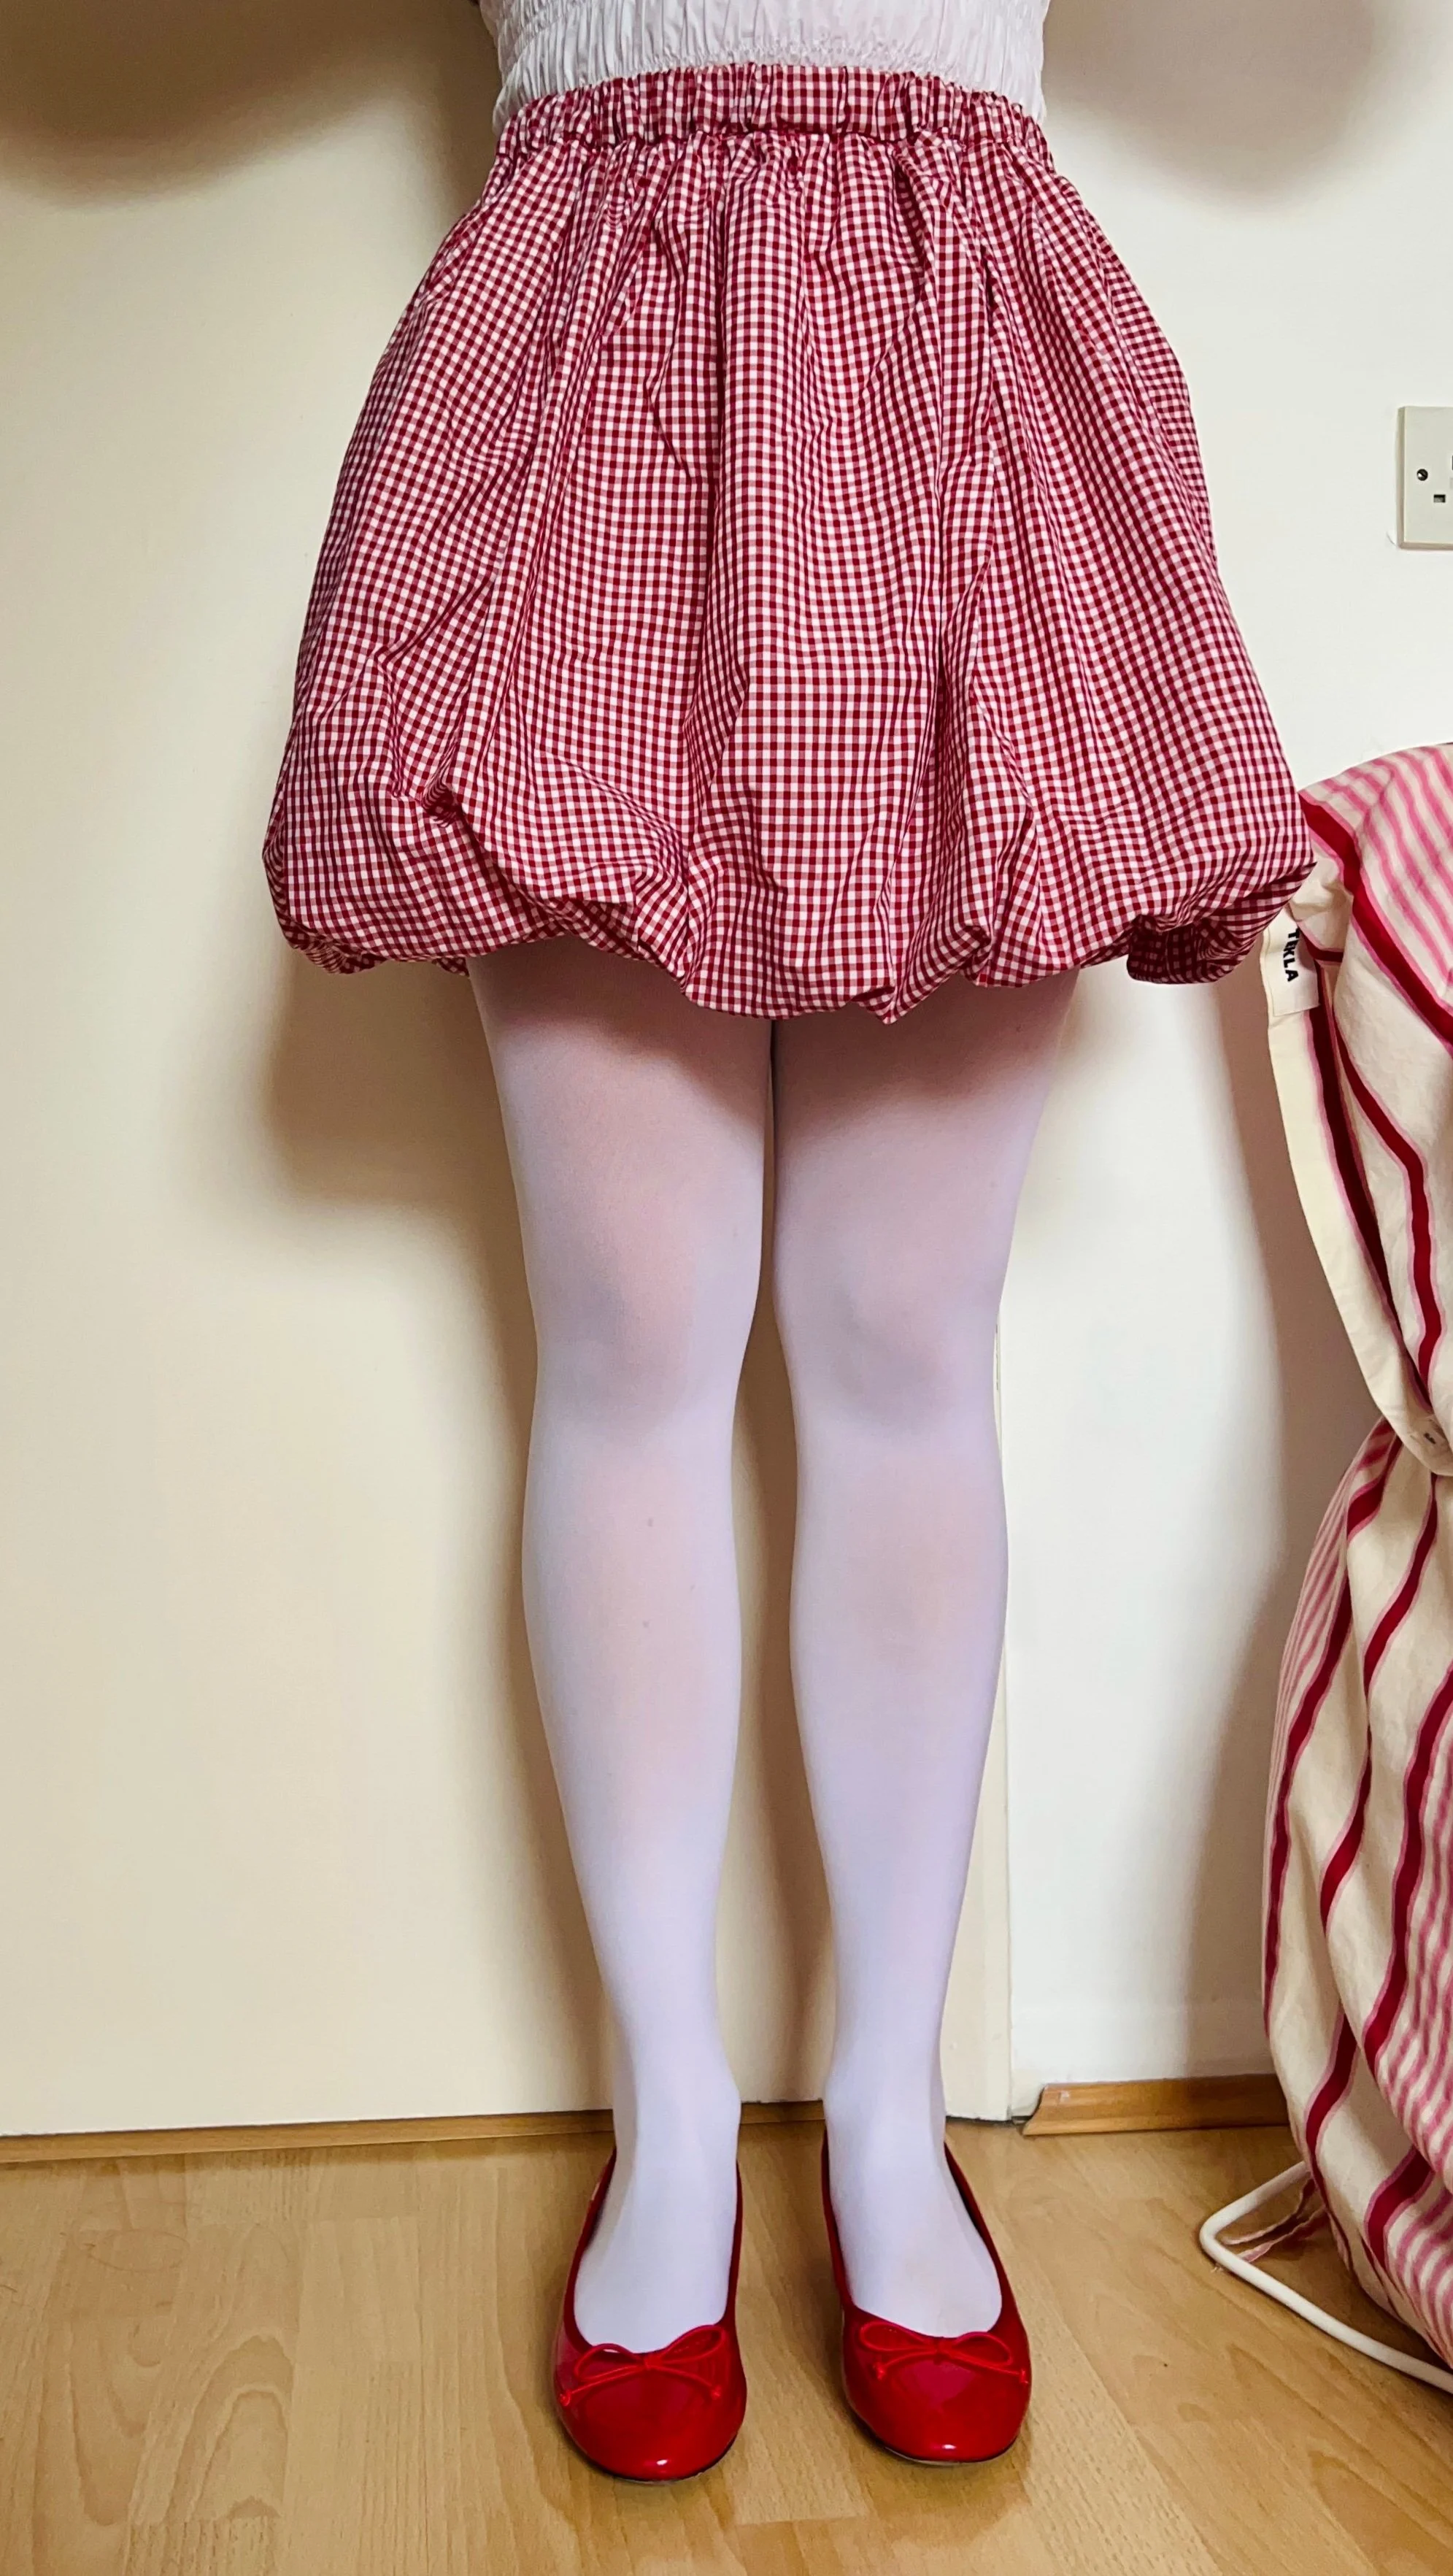
bubble skirt
pattern info
A basic sewing project with big impact! With just a few rectangles of fabric and some gathering, you can puff up a basic skirt and add a completely new silhouette to your wardrobe.
materials
2-3 yards/meters of fabric
Approximately 1 yard/meter of lining fabric
1-2 yards/meters of main fabric
Elastic (3/4-1 inch width
Length = Your waist measurement
Width = 3/4 inches (2 cm)
measurements
Waist measurement
Hip measurement
Desired skirt length (pictured: approximately 15 inches (38 cm)
pattern pieces
Outer skirt (cut 2):
Width = 1.5 x your waist measurement
Length = Your skirt length + 4 inches (10 cm)
Lining (cut 2):
Width = 0.6 x your hip measurement
Length = Your skirt length - 4 inches (10 cm)
Waistband (cut 2):
Width = 0.6 x your hip measurement
Length = 3 inches (8 cm)
Copyright © 2024 Alexa Kari Designs. For personal use only. Reader/purchaser may not copy, resell, or redistribute any part of the pattern without permission. Reader/purchaser may not sell any garments created following the pattern.video tutorial
A complete Bubble Skirt video tutorial is available on the Material Grrrlz YouTube channel:
Subscribe to get free patterns straight to your inbox:)
instructions
Place outer skirt pieces good sides together and sew down each short side
Place lining pieces good sides together and sew down each short side
Bubble hem
Gather the bottom of the outer skirt until it matches the bottom of the lining
Place outer skirt and lining pieces right sides together (make sure to match up seams) and pin the bottom edges together
Sew around the entire bottom hem
Turn the skirt right side out to reveal the bubble hem
Waistband
Place the two waistband pieces right sides together and sew down each short side
Fold one long edge of the waistband over approx 1/4 inch (0.6 cm) and press
Gather the top of the outer skirt until it matches the top of the lining
Place the waistband around the top of the skirt (right sides together). Pin waistband, outer skirt, and lining pieces together around the entire skirt (make sure seams match up). Note: pin the raw edge (the pressed edge should be towards the bottom of the skirt)
Sew around the entire top of the skirt
Flip the waistband to the inside of the skirt. Place the waistband’s pressed edge on the seam sewed in step 4e. Pin in place around the entire top of the skirt
From the front of the skirt, sew across the gathering directly below the waistband seam. Leave a 2 inch (5 cm) hole at the end
Use a safety pin to feed elastic through the waistband, using the hole left in step 4g.
Sew the two ends of the elastic together
Sew the waistband opening closed.
This pattern was originally published in the Q4 2024 issue of Material Grrrlz
Download the whole issue for free here!
(featuring even more free patterns and girly fiber art activities…)


