
tabi mittens
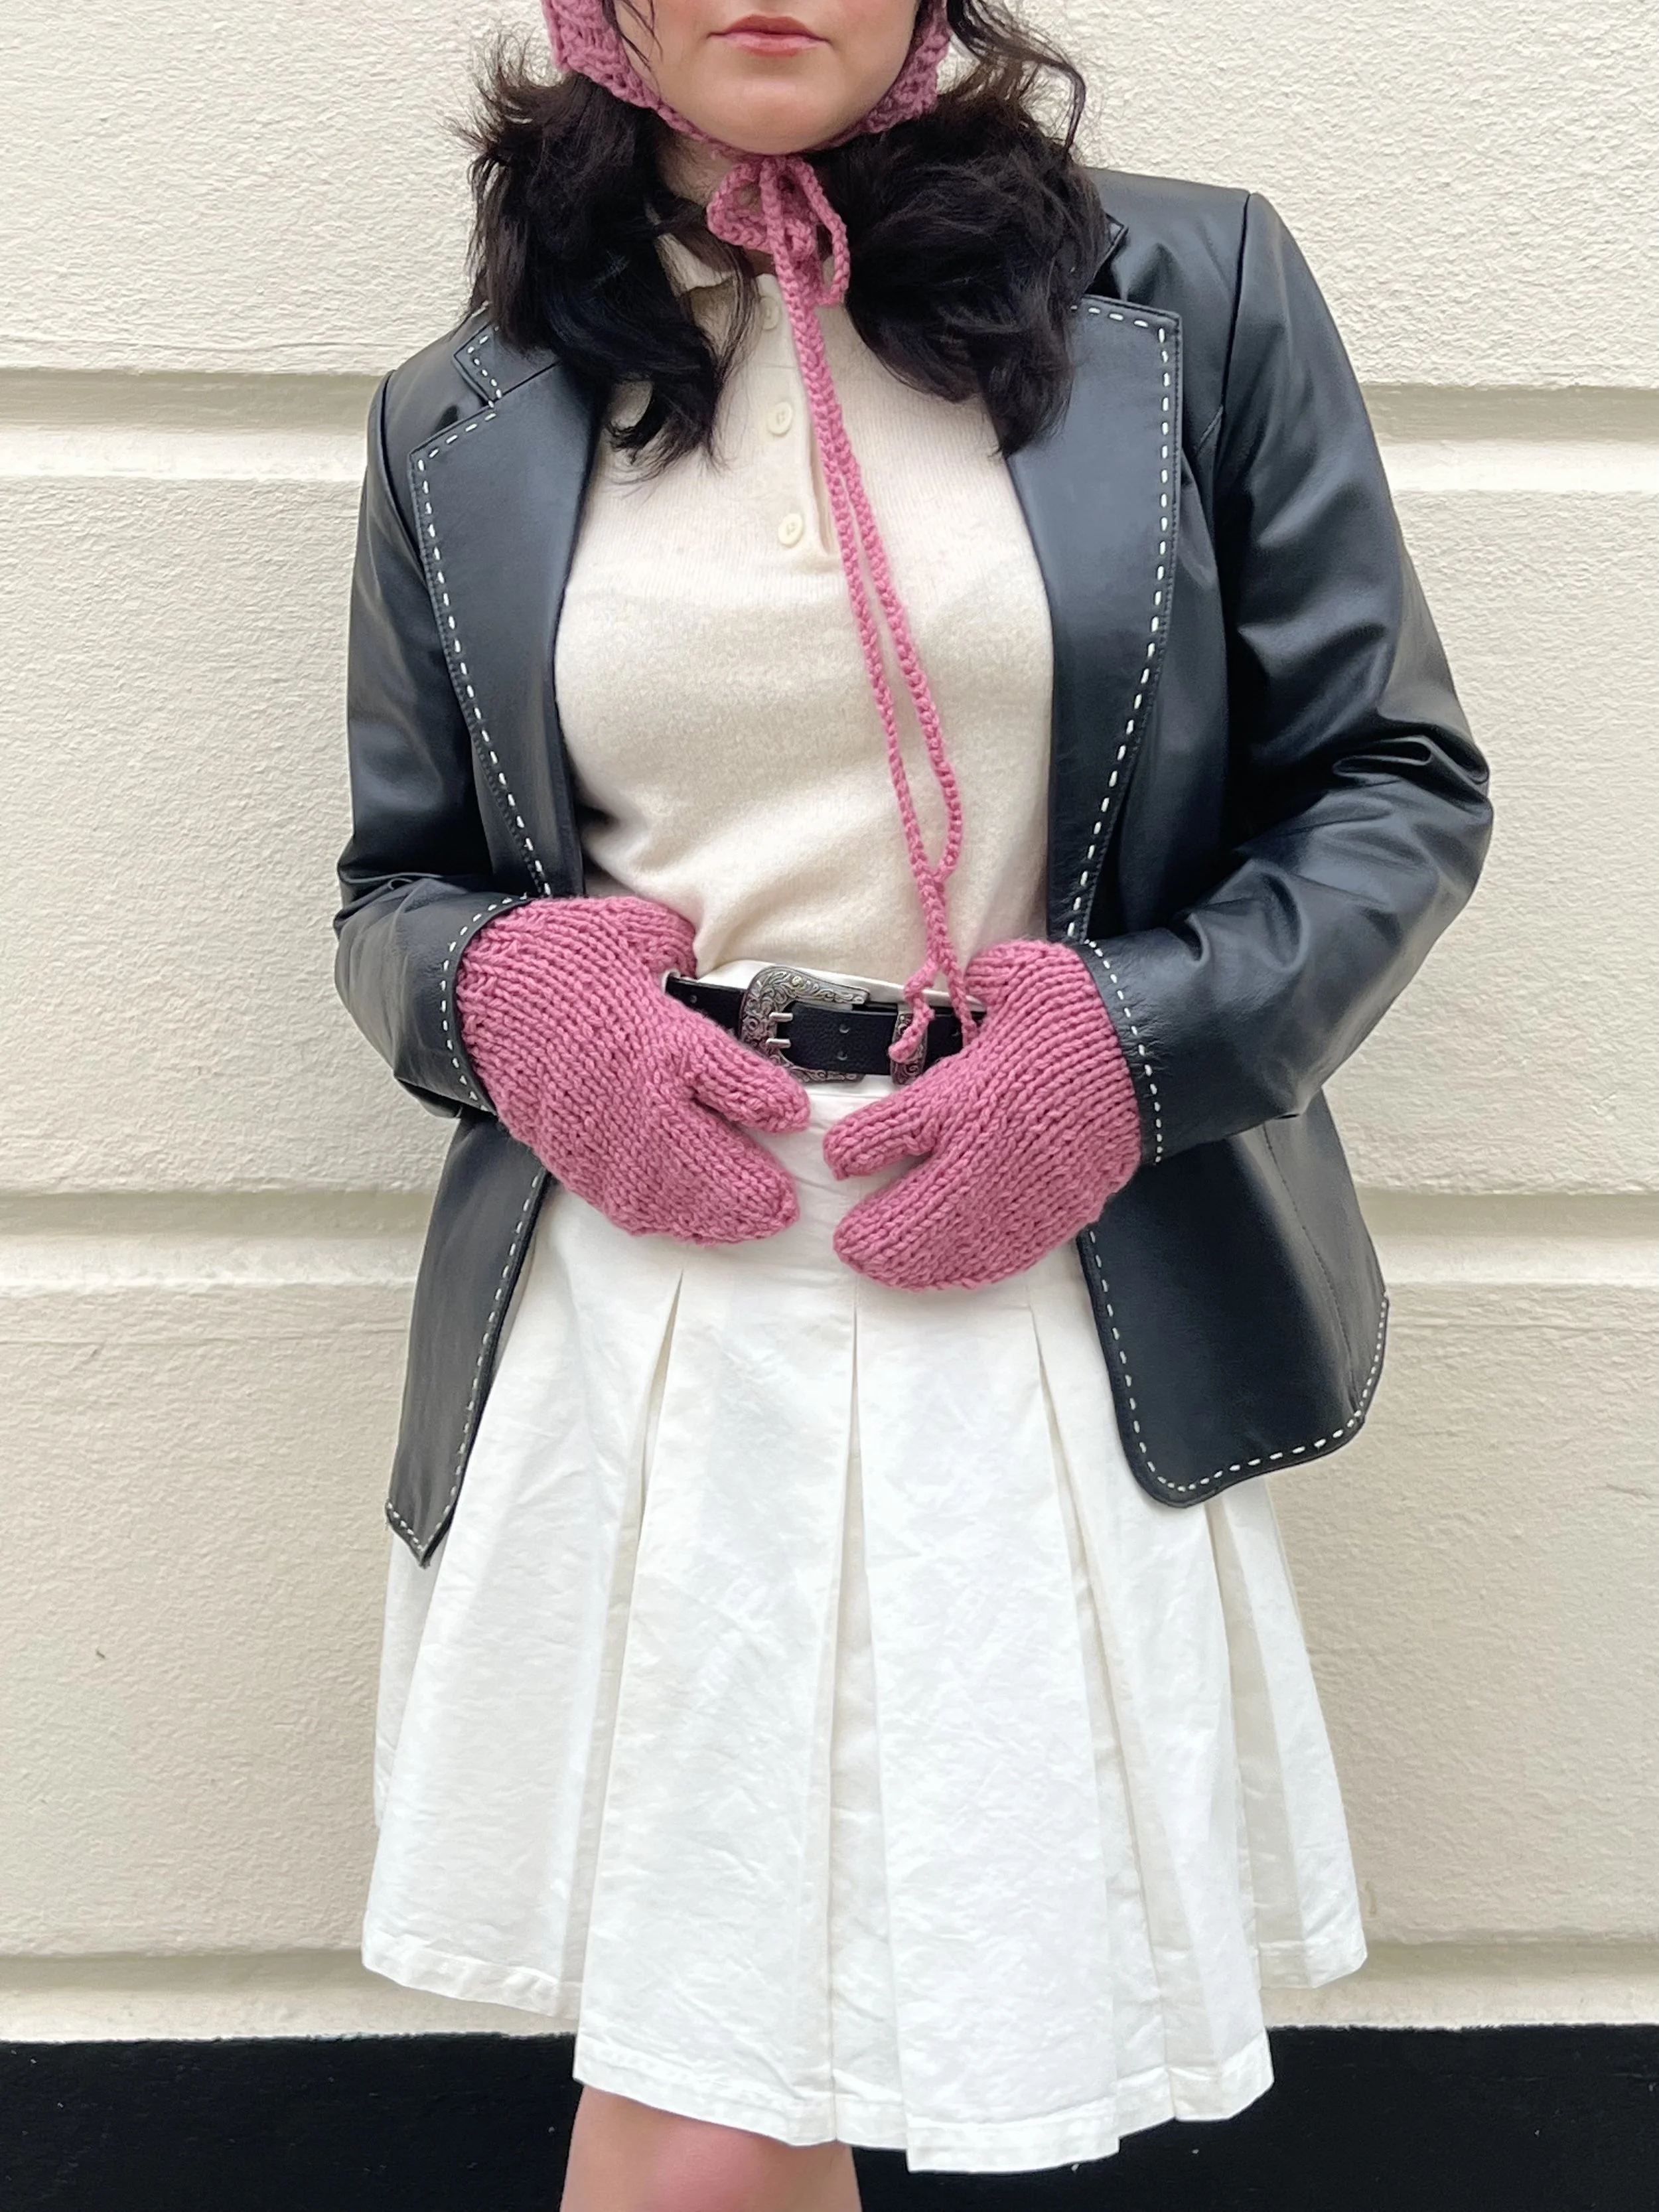
inspired by tabi shoes, these mittens separate the pointer finger from the rest of the hand for an unexpected design addition. they are knit holding two strands of yarn together throughout, building from the bottom up.
measurements
total length: 10 inches
top of wrist to tallest finger: 6.75 inches
hand circumference (without stretch): 10 inches
wrist circumference (without stretch): 7 inches
materials
6.5mm circular needles
5.5mm circular needles
50g/140m or 100g/290m yarn (size 3-4, aran/dk), held double (originally created with 1 skein of “yarnsmiths create dk”)
optional: 2 stitch holders (can also use scrap pieces of yarn)
gauge
13 stitches by 16 rows = 4x4 inches hold two strands together and use stockinette stitch on 6.5mm needles
technique
use the “magic loop” technique to create these gloves on circular needles (shoutout to the grrrlz that refuse to use double pointed needles lol). optional: use two different colors of yarn or continue switching between scraps of yarn for a cool multi-color texture throughout the glove!
abbreviations
st(s) - stitch(es)
k - knit
p - purl
m1 - make 1 stitch
pm - place marker
sm - slip marker
rm - remove marker
fine print: copyright © 2023 alexa kari designs. for personal use only. reader/ purchaser may not copy, resell, or redistribute any part of the pattern without permission. reader/purchaser may not sell any garments created following the pattern. Subscribe to get free patterns straight to your inbox:)

tabi mittens pattern
cuff
using 5mm needles, cast on 24 sts (using any stretchy cast on method). cast on one extra st and use it to close the round. place a marker at the beginning of the round (tie something to it so you can differentiate this from other markers you will later place around the round).
knit 1x1 ribbing (repeat k, p) for 16 rounds.
body
switch to 6.5mm needles
rows 1-4 - k
row 5 - k11, pm, m1, k1, m1, pm, k12
row 6 - k all sts, sm as you reach each one
row 7 - k to marker, sm, m1, k to marker, m1, sm, k to end row 8 - k all sts, sm as you reach each one
row 9 - k to marker, sm, m1, k to marker, m1, sm , k to end row 10 - k all sts, sm as you reach each one
row 11 - k to marker, sm, m1, k to marker, m1, sm , k to end row 12 - k all sts, sm as you reach each one
you should have 9 sts between markers for the thumb
row 13 - k to marker, rm, place 9 sts on holder, rm, k to end row 14 - k11, pm, k to end
row 15 - k to 1 st before marker, m1, k1, sm, k1, m1, k to end row 16 - k
row 17 - k to 1 st before marker, m1, k1, rm, k1, m1, k to end you should now have 27 total working sts for the fingers rows 18-20 - k
row 21 - k10, place 7 on holder, k10
row 22-23 - k (to make body taller, k more rows until the body is 2.5-3 inches shorter than your desired length)
row 24 - k2tog, k to last 2 sts, k2tog
row 25 - k
rows 26-33 - rep rows 24 & 25 4 more times. when you have finished you should have 10 sts left.
row 34 - rep (k2tog) through entire round
you should have 5 sts left
cut your yarn, leaving a long tail, and use a tapestry needle to pull it through the 5 remaining sts. pull closed tightly and weave in the end on the inside of your work.
pointer finger
place 7 sts from the stitch holder on to 6.5mm needles
pick up 1 st from body (to make circumference of pointer finger larger, pick up 1 extra st)
you should have 8 sts total
place marker at the beginning of the round
rows 1-8 k (k more rows here to make pointer finger longer)
row 9 - rep (k2tog) through entire round
you should have 4 sts left
cut your yarn, leaving a long tail, and use a tapestry needle to pull it through the 4 remaining sts.
pull closed tightly and weave in the end on the inside of your work.
thumb
place 9 sts from the stitch holder on to 6.5mm needles
pick up 1 st from body (to make circumference of thumb lager, pick up 1 extra st)
you should have 10 sts total
place marker at the beginning of the round
rows 1-5 - k (to make thumb longer, k more rows here)
row 6 - rep (k2tog) through entire round
you should have 5 sts left
cut your yarn, leaving a long tail, and use a tapestry needle to pull it through the 5 remaining sts.
pull closed tightly and weave in the end on the inside of your work.
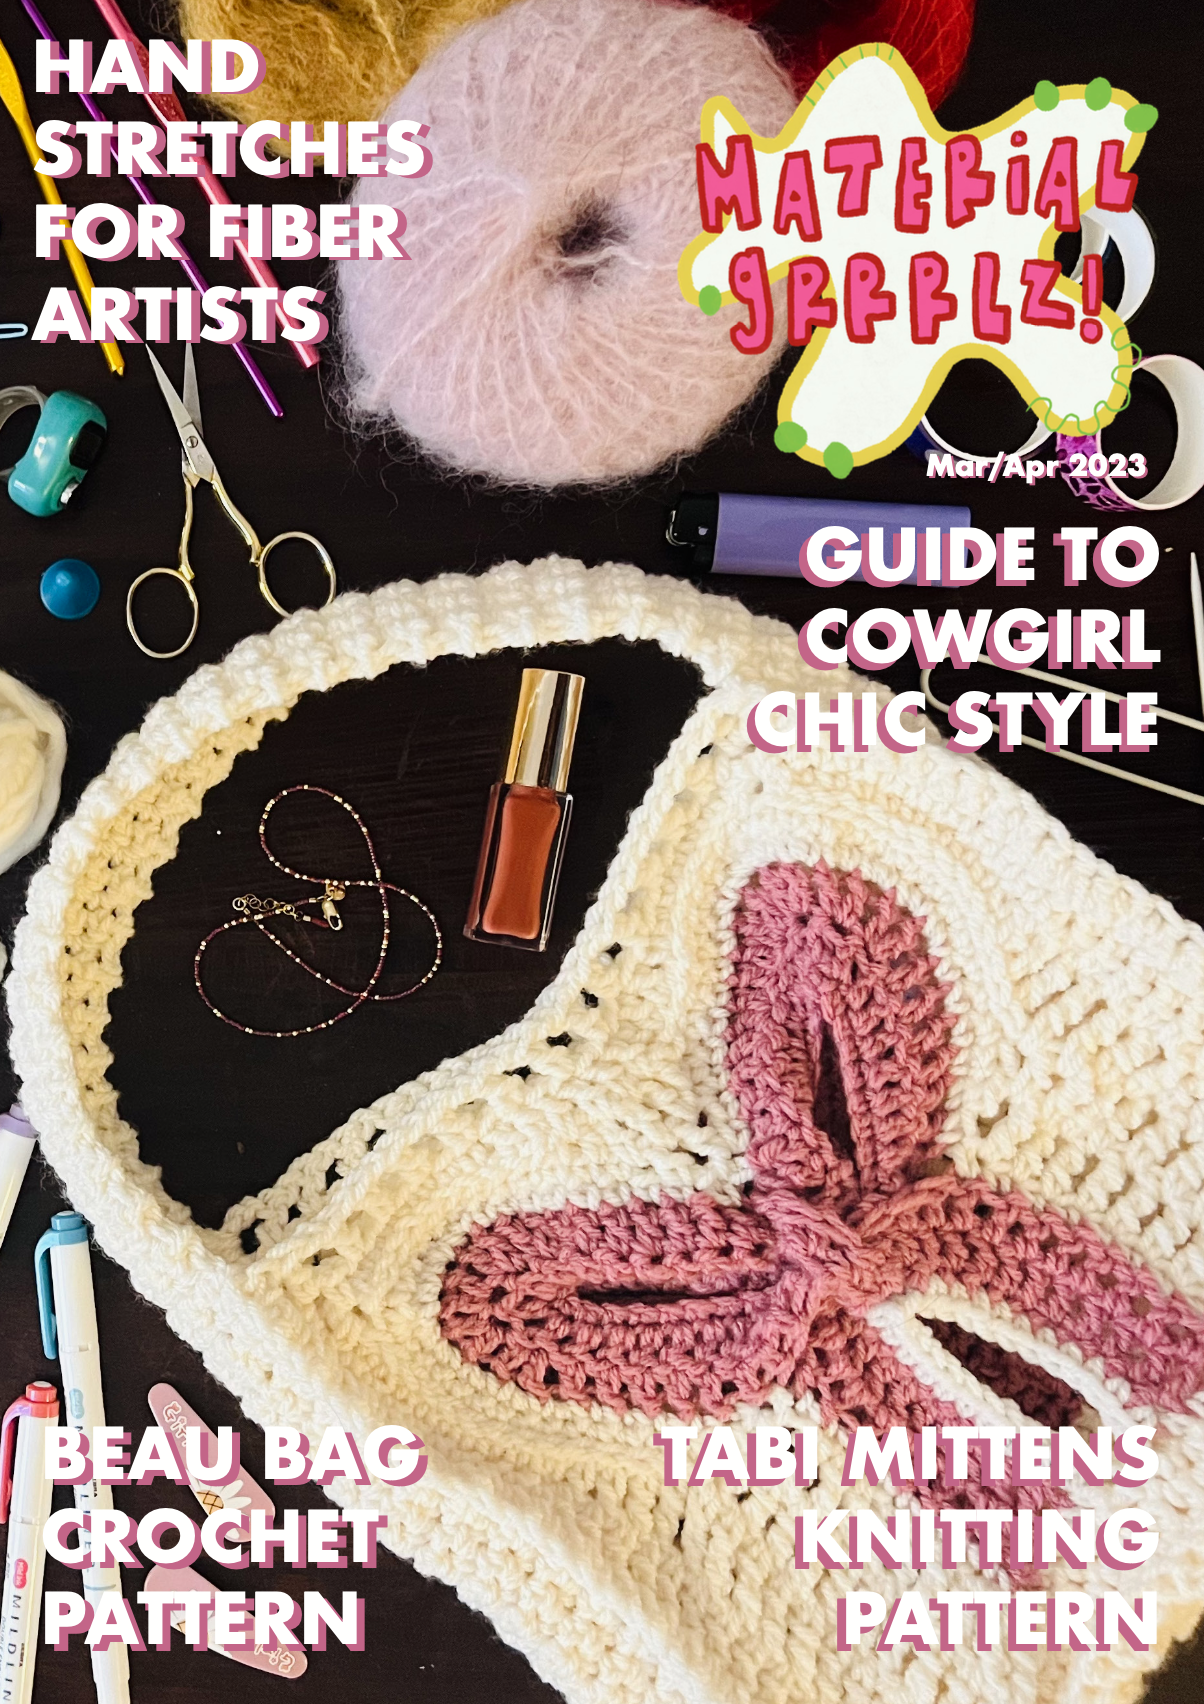
This pattern was originally published in the Mar/Apr 2023 issue of Material Grrrlz
Download the whole issue for free here!
(featuring even more free patterns and girlie fiber art activities…)